Update on the Ship-in-a-Bottle
Update on the Ship-in-a-Bottle
I allocated a few hours to prep the bottle for the ship-in-a-bottle kit, i.e., putting clay along the bottom. Little did I know that this would turn into a multiday extravaganza.
I was ready to go, and read the instructions. They strongly recommended using a bent knitting needle to push the clay around. I took out the knitting needles I had purchased in advance, and tried to bend them… to no avail. I later talked with my Mom, who has been knitting for many years, and she did not think any knitting needle would bend… the point of a knitting needle is that it doesn’t bend, so you can knit properly! Sigh. This is the not the first time the instructions had led me astray. The English is pretty poor, so I wonder if it is a mistranslation from Chinese…
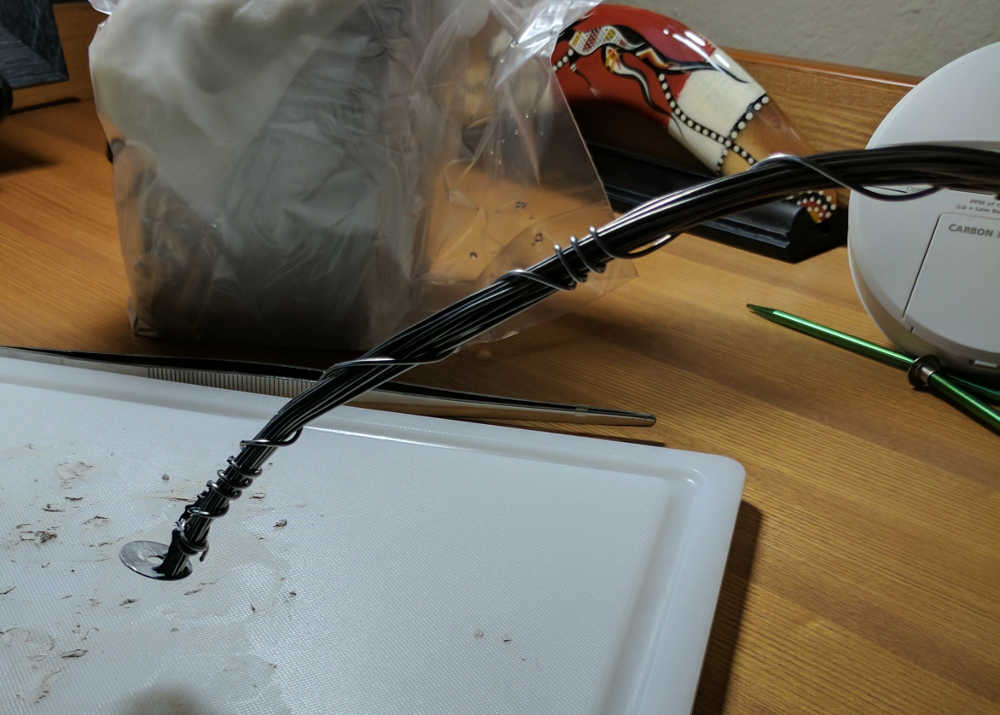
So, new first step: create something that can bend (but is also firm), and has a flat end. I took out my washers and aluminum wire, wrapped, applied some J.B. cold weld, and ta-da:

24 hours had passed, but I figured it would now only take an hour (or two at most) to get the clay in and ready. First, I started kneading the blue acrylic paint into the white clay, to give it an ocean look. After quite a bit of paint, it still looked rather grey. I realized later that normally paint only covers a 2-D surface, so you do not need that much to get a vibrant color. Since I needed the entire clay to be colored (as it is pushed around, it will be mushed together), I needed enough paint for a 3-D surface. After a few hours of applying gobs of paint, kneading, repeating, it was finally blue enough. I had to be very careful, though, as it was porous and would leave paint behind wherever it landed.
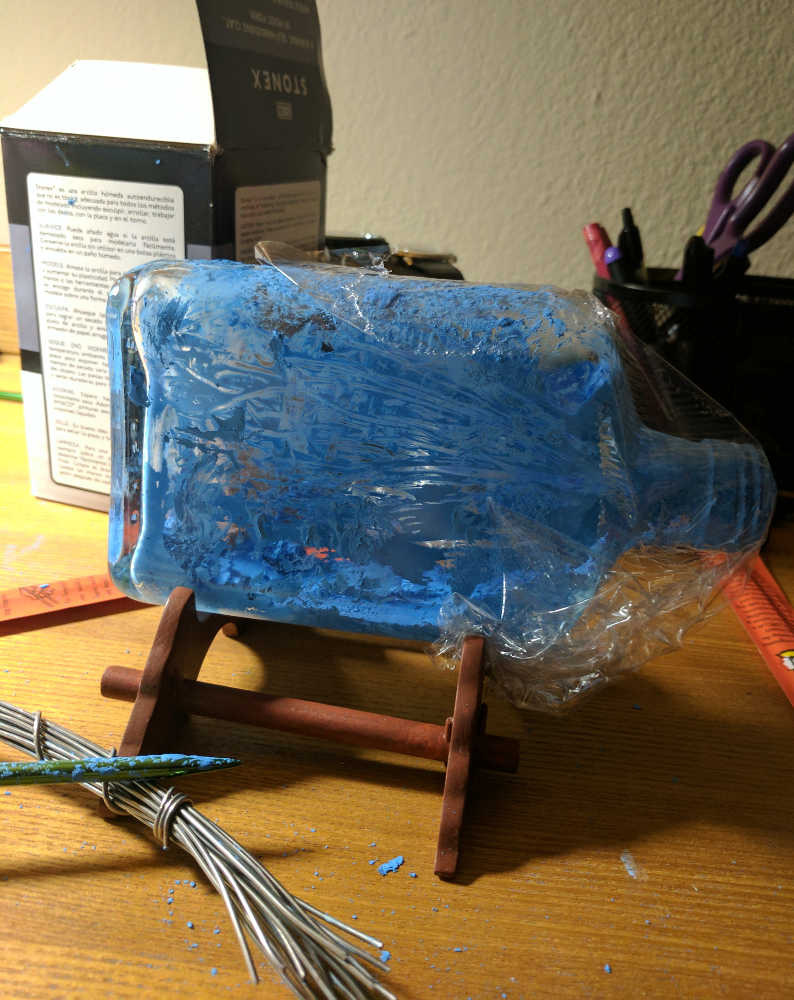
I finally started putting the clay in the ship, not realizing how difficult it is. There is very little manoeuvrability due to the narrow neck. Moreover, if you apply too much pressure, the rod will skip and slather the side of the bottle with clay (and paint). Additionally, the clay has a tendency to stick to the rod as you try to push it around. After much agony, I finally managed to get the clay on the bottom, but not without the rest of the bottle looking like a warzone:

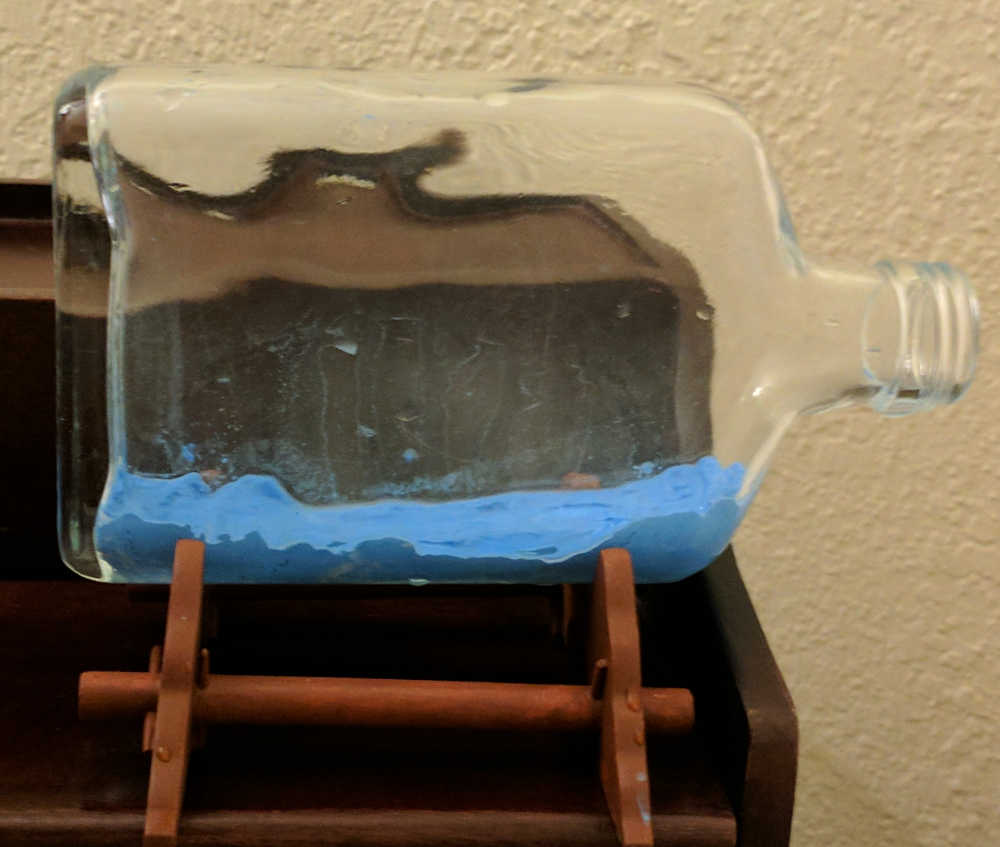
I then spent several more hours with a toothbrush, unbent knitting needle, and aluminum wire. First, I would clean a small area with the toothbrush, carefully remove it (since it was covered in paint and clay), wash it off, go back inside to clean, and so on. The toothbrush couldn’t reach all places, so I used the unbent knitting needle to scrape most of the remainder. There were some places that even the knitting needle couldn’t reach, and I used aluminum wire for that. Before scraping, I would turn the bottle upside-down and fill it with water – that way, the gunk would come off into the water, but the main clay would be unaffected. I finally managed to make it presentable:

On closer inspection, there are scratch marks on the inside (from scraping the clay off). I should have been more gentle and am noting it for the future.
That being said, the final result is quite nice. I hope the ship looks good inside.